TR-20: Below the City Walls
Jump to navigation
Jump to search
TR-20 Below the City Walls |
Episode 10 Previous 10-3 Next 10-4
|
![]() | |
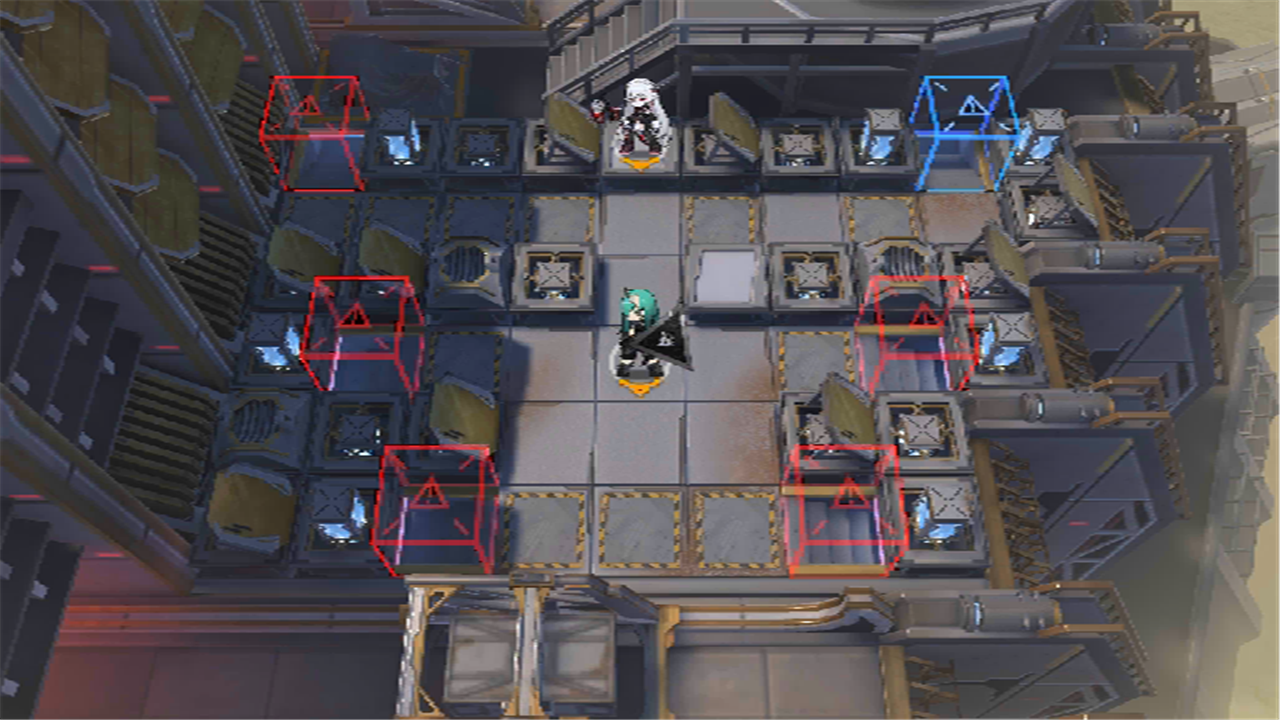
A simulation of the defense capabilities of Londinium's Citadel Artillery. Its fire destroys all, and hence the stronghold has never fallen. <Londinium Secondary Defense Artillery> Once fully charged, deals area True damage to both allies and enemies, centered on the friendly unit with the highest Block. |
Information
Recommended level | – | ||
---|---|---|---|
Sanity | Drill Plan | EXP | LMD |
0 | – | 0 | 0 |
Unit Limit | Initial DP | Life Points | Enemies |
5 | 10 | 15 | 20 |
Drops
First clear |
---|
Enemies
Normal | Touch of the Sanguinarch ×12, Sarkaz Heirbearer Warrior ×6, Sarkaz Heirbearer Artificer ×2 |
---|
Operators
All Operators below cannot be changed and the Support Unit cannot be used.
Squad composition | |
---|---|
Pre-deployed | |
Additional information | |
All Operators have 100% Trust. |
Tutorial[edit]
The following story is played in the middle of the operation. | |
---|---|
Characters
| |
Events
| |
[A group of Sarkaz Heirbearer Warriors move in towards Hoshiguma. Notice that a large radius around her is marked by orange borders and Hoshiguma herself is marked by a crosshair, while a meter can be seen on the HUD that slowly fills itself.] | |
<Game paused> | |
Amiya | Please be careful, the enemies are currently focusing their defensive artillery on this battlefield. [The meter is highlighted] After firing, the artillery will need to take some time to reload. [Hoshiguma is highlighted] After the loading is finished, it will launch a large-scale bombardment at the allied unit with the highest Block, dealing huge amounts of True damage. |
Hoshiguma | Don't worry, I'm the one holding this shield up. |
<Game unpaused> | |
[Hoshiguma holds off the enemies under Warfarin's medical support as the meter, which represents how long before the Londinium Secondary Defense Artillery opens fire, fills itself whilst some of the Warriors turned into the parasitic Touches of the Sanguinarch upon defeat with some also showing up. Notice that the Touches take little, if any, damage from Hoshiguma's attacks.] | |
<Game paused> | |
Hoshiguma | These Sarkaz warriors don't look like they're going down easily, and there's more and more of them gathering here. |
Amiya | I'm afraid they... have been influenced by some kind of Sarkaz Originium Arts, so whenever they're defeated, they come back in a harder, more resilient form. These reborn creations will increase their blocker's maximum block count, while also being extremely resistant towards Physical and Arts damage... |
Hoshiguma | But, the city's defensive artillery should make quick work of them, right? |
<Game unpaused> | |
[More Touches show up, including those from defeated Warriors, as the Artillery meter is close to be filled; notice that Hoshiguma's block count is increased for every Touch she blocks, allowing her to hold the remaining Touches, and red smokes can be seen on the screen as the meter is nearly full. As soon as the meter fills up, the Artillery fires at Hoshiguma, who barely survives while the Touches are vaporized by the blast.] | |
<Game paused> | |
Amiya | Inspector Hoshiguma, are you alright? |
Hoshiguma | I'm hanging in there. |
Amiya | Glad to hear it. The reinforcement squad has arrived, Doctor. Please direct them to wipe out the remaining enemies. |
<Game unpaused> | |
[<The player deploys Archetto, Ethan, and Specter at their discretion> More Warriors and Touches show up, including two Sarkaz Heirbearer Artificers that speeds up the Artillery meter's charge; the player can interrupt them while doing so to deplete some of the Artillery meter. All of the Sarkaz Heirbearers and their spawns are eventually eliminated, whether through the Operators' concentrated attack or the Artillery fire that may knock them out if the player is not careful.] |