Operation guide: Grand Knight Territory Bar District
| Operation | Contracts | Guide |
| #8 (Dawnseeker) | Permanent Site |
|---|---|
| #9 (Deepness) | Rotating Site (Day 8 and 10) |
| #10 (Ashring) | Rotating Site (Day 4 and 9) |
| #11 (Fake Waves) | Rotating Site (Day 4 and 9) |
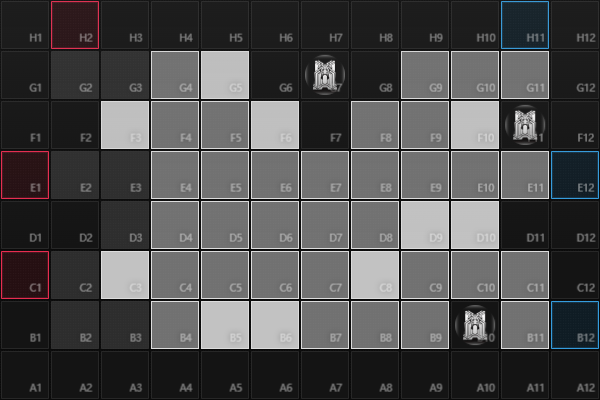
Doctors who had enjoyed Near Light would be glad to see that the visibility mechanic returns in Grand Knight Territory Bar District, which prevents the deployment of friendly units and made enemies within invisible unless the tiles are provided with visibility through the City Neons on B10, F11, and G7, as well as three Knight Crests at the player's disposal. Be wary of the Environment: Insufficient Power Contracts that removes two of the Neons and gives no Crests, and the Environment: Lingering Starfire Contract that removes all three Neons and gives only a single Crest, which can make the deployment of units trickier.
As expected, enemies debuting in NL also shows up in G.K.T. Bar District, which ups the ante further from previous Contingency Contract seasons and can be difficult to beat if the player doesn't get creative:
- Viviana the Candle Knight: Though having a modest stats, Viviana's threat lies in her Glimmering Touch special attack which can cause heavy Arts damage to friendly units in a wide area, though this also leaves her vulnerable while charging it up and also exposes her if she is on tiles without visibility. Her namesake Contracts, however, amplifies the Candle Knight's prowess further by buffing her HP and lowering her Glimmering Touch's cooldown, and can make her a difficult foe to anticipate:
- The Dazzle Contracts buffs Viviana's HP the most and (from Level 2) gives her Negative Taunt, charge up Glimmering Touch twice as fast and reduces its cooldown from Level 2; at level 3, she no longer needs to charge up Glimmering Touches, allowing the Candle Knight to unleash Glimmering Touches in quick succession to annihilate anyone in her path while at the same time becoming a tough nut to crack.
- The Candlelight Contracts also buffs Viviana's ATK, extends her attack range, causes the Arts damage she deals to ignore a portion of the victims' RES, and halves the cooldown of her Glimmering Touch; even friendlies with high RES are unable to withstand the Candle Knight's attack and frequent Glimmering Touches, which can be dangerous if they are bunched closely!
- Tola the Last Kheshig: As expected from a true, pure-blooded Nightzmora, Tola has good stats that makes him a formidable opponent, not to mention that his Coalescing Fear special attack in which he strikes every friendly units whose tile right behind them have no visibility mandates the player to be very careful in their units' deployment to prevent Tola from easily wreaking havoc on friendlies at unexpected moments. His namesake Contracts serve to empower him even further by buffing his HP and ATK, and will surely give weak-minded Doctors a string of nightmares:
- The Lone Khaganquest Contracts also buffs Tola's RES, makes him show up at the start of the operation from Level 2, and makes him invisible even on tiles with visibility at Level 3, forcing the player to employ detectors or block him (and risk facing his hard-hitting attacks) to even touch Tola.
- The Khagan's Excursion Contracts also buffs Tola's DEF and several Nightzmora Followers – basically lesser versions of Tola – will come to his aid, which can overwhelm the Operators if the player is not careful in their unit deployment since the Followers also have Coalescing Fear!
- Knight Territory Hibernators: These rogue alcoholic knights hits quite hard, but fortunately they are always directly spawned on tiles without visibility in a passive Standby state where they won't attack and move until some time has passed or when the tile they are on are provided with visibility. While they do come in small numbers, the Environment: Beverage Promotion Contracts will cause additional Hibernators to join the party.
- Armorless Union Third Squad and Armorless Union Cleanup Squad: These two Armorless Union sharpshooters have a very long attack range and inflicts Corrosion Damage on each hit, not to mention that they are the last enemies to start moving toward a Protection Objective, thus the player must be careful to not let them reduce the DEF of friendlies to paper-thin levels. It is worth noting that the A.U. Third Squad attacks faster while the Cleanup Squad hits harder.
Do note that the player must defeat Viviana and Tola; let either of them into a Protection Objective at your own peril since they will deduct three Life Points instead of one as they would in NL, resulting in an instant mission failure even without the Objective: Last Line of Defense Contract!